17 Soft Waves Tutorial for Low-Effort, Beautiful Results
I used to get frustrated every time I tried soft waves. At first, the curls looked fine, but they dropped fast or turned stiff. I followed every Soft Waves Tutorial I could find, yet my hair never looked soft or relaxed. Because of that, I assumed my hair type was the problem. Over time, I learned it was not my hair at all. It was how I prepared and handled it. Most importantly, soft waves need understanding, not force.
Although soft waves are often called easy, they are more sensitive than people expect. Small mistakes show quickly when prep is rushed. Product choice plays a role, heat control matters, and cooling time often gets ignored. Once I slowed down and understood why each step existed, my results finally changed. That was when soft waves started working for me.
17 Soft Waves Tutorial for Low-Effort, Beautiful Results
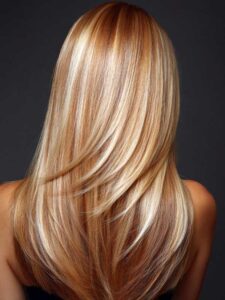
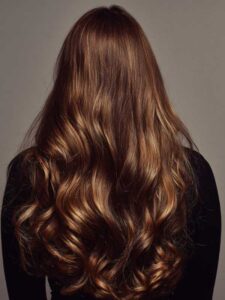
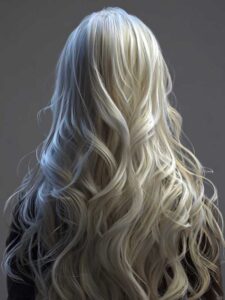
1. Loose Classic Soft Waves for Everyday Wear
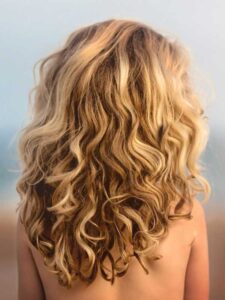
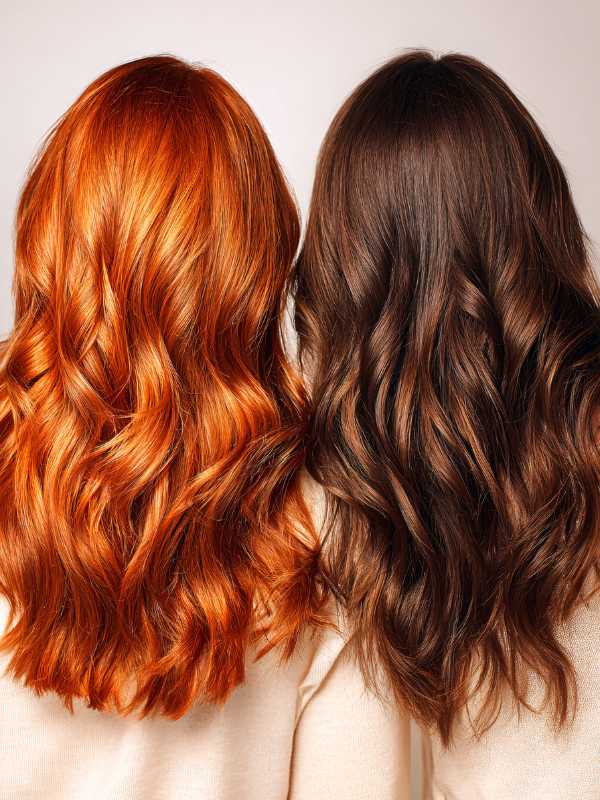
Following the natural direction of the hair is why this Soft Waves Tutorial works so well. It does not fight texture. Therefore, the waves fall softly instead of looking styled. I start by dividing my hair into medium sections. Larger sections often lead to weak waves. Smaller sections, on the other hand, tend to form curls.
To control the shape, I hold the curling iron vertically. This helps the hair bend instead of coil. In addition, I curl away from the face to keep the look open. I leave the ends slightly out to avoid stiffness. After releasing each section, I let it cool fully. From experience, touching the hair too soon is why waves fall apart. This method gives movement that lasts without effort.
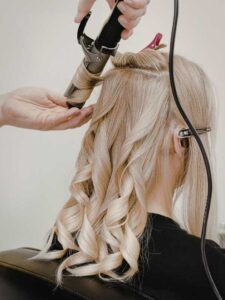
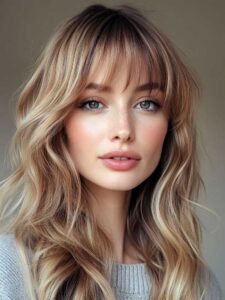
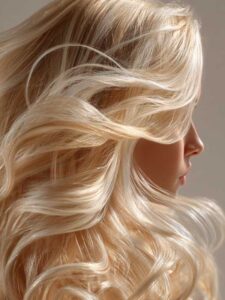
2. Soft Waves Tutorial with Gentle Root Lift
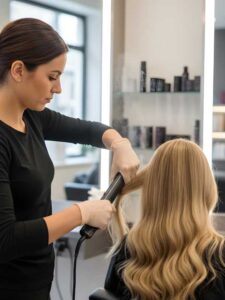
This Soft Waves Tutorial focuses on balance. Lift at the roots helps waves look full, but too much lift looks messy. Therefore, I apply a small amount of texture spray only at the crown. I avoid the lengths because that creates dryness.
I curl the mid-lengths and ends as usual, keeping the iron vertical. In addition, I tilt my head slightly while curling the top sections. This creates natural lift without teasing. Once cooled, I lightly shake the roots with my fingers. Personally, I use this Soft Waves Tutorial on days when my hair feels flat but I still want a soft finish.
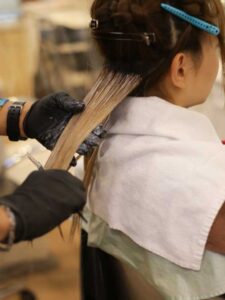
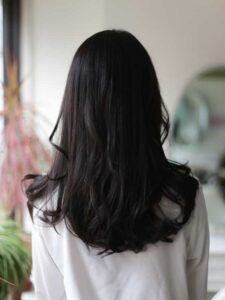
3. Low-Heat Soft Waves Tutorial for Weak or Fine Hair
This Soft Waves Tutorial works best when hair feels fragile. High heat creates fast results. However, it also removes softness. Therefore, I lower the heat and adjust my timing. I use smaller sections and hold the iron slightly longer.
Cooling time is very important here. I let each wave cool completely before moving on. In addition, I avoid heavy styling products before curling. Fine hair responds better to light prep. From my experience, this Soft Waves Tutorial protects hair while still creating shape. The waves feel lighter and healthier.
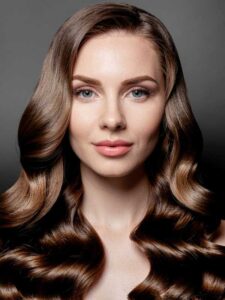
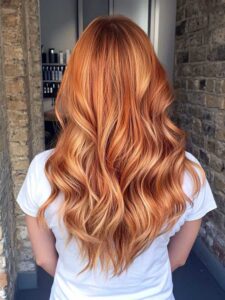
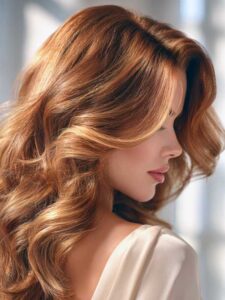
4. Alternating Direction Soft Waves Tutorial for Natural Texture
Alternating curl direction is one of the most important Soft Waves Tutorial steps. Curling every section the same way causes waves to blend together. Therefore, the hair looks flat. I curl one section away from the face. Then I curl the next toward the face.
This technique creates separation and movement. In addition, it helps waves last longer without hairspray. I noticed my hair looks fuller with less effort when I use this Soft Waves Tutorial. It is especially helpful for thick hair that tends to clump together.
5. Soft Waves Tutorial for Second-Day Hair
Second-day hair is ideal for this Soft Waves Tutorial. Natural oils add grip. Therefore, the waves hold better. I usually skip heavy prep and only brush out knots. If needed, I add a small amount of dry texture spray at the roots.
I curl quickly, focusing only on reshaping the hair. In addition, I avoid brushing at the end. I use my fingers instead. This keeps the texture relaxed. Honestly, some of my best results come from this Soft Waves Tutorial because the hair already knows how to behave.
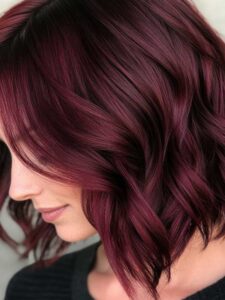
6. Soft, Brushed-Out Waves That Still Hold Shape
This style works because brushing is done at the right time. Many people brush too early. Therefore, the waves disappear. I wait until every section is fully cool. Then I use a wide comb or my fingers. This softens the shape without breaking it.
The key here is light pressure. Brushing hard creates frizz. In addition, brushing from the ends upward helps control volume. I finish with a soft hold spray from a distance. This method is part of my Soft Waves Tutorial routine when I want movement without visible curls.
7. Natural Soft Waves Using Mixed Section Sizes

Using one section size makes waves look uniform. That often feels stiff. Therefore, this method mixes small and medium sections. The result looks more natural. Smaller sections hold shape. Larger sections keep softness.
I usually curl smaller pieces around the face. Then I switch to bigger sections at the back. In addition, I leave the ends straighter. From experience, this balance creates the most wearable soft waves. It is a simple Soft Waves Tutorial adjustment that changes everything.
8. Soft Waves That Last Longer Without Heavy Spray
This style focuses on hold without stiffness. Many people rely on hairspray too early. However, that locks the curl before it settles. I prefer to set the wave with cooling first.
After curling, I let the hair sit for a few minutes. Then I shape it gently. If needed, I add flexible spray only at the mid-lengths. Avoid the roots. This approach is part of my Soft Waves Tutorial process for long days when I still want touchable hair.
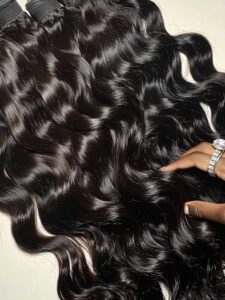
9. Soft Waves for Thick Hair That Tends to Feel Heavy
Thick hair often drops waves because of weight. Therefore, sectioning becomes more important. I divide the hair into smaller layers, not just smaller sections. This allows heat to reach evenly.
I also curl slightly higher up the strand. This gives support. In addition, I avoid heavy oils before styling. From my experience, thick hair responds better to light prep and patience. This Soft Waves Tutorial method keeps waves visible without bulk.
10. Relaxed Soft Waves with Minimal Product
This style proves that less really works. Too much product hides softness. Therefore, I keep prep simple. One heat protectant. Nothing more. The hair moves better this way.
I curl loosely and avoid perfect sections. In addition, I do not brush much at the end. I let the hair fall where it wants. This Soft Waves Tutorial approach feels effortless and real. It is ideal for casual days and quick styling.
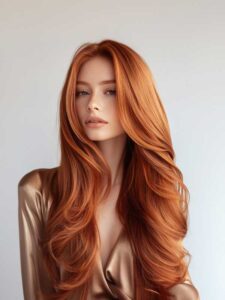
11. Soft Waves with Face-Framing Pieces Left Loose
This style works because it keeps the face area light. Many people curl every strand. That can feel heavy. Therefore, I leave small front pieces barely waved. This softens the look.
I curl the rest of the hair normally. Then I lightly bend the face-framing strands with quick heat. In addition, I avoid brushing near the face. From experience, this creates a softer finish and makes the waves look more natural and relaxed.
12. Soft Waves That Look Better as the Day Goes On
Some waves peak too early, especially when styled too tightly. This style improves with time because it relies on loose shaping and minimal product.
I avoid setting spray right away. Instead, I let movement happen. In addition, I use my fingers later in the day to reshape. This approach is part of my Soft Waves Tutorial habits when I want hair that ages well instead of falling flat.
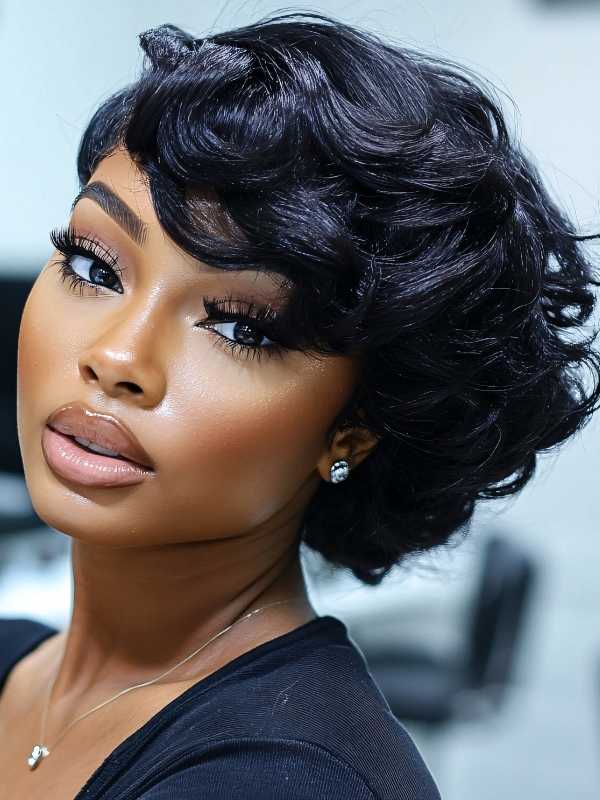
13. Soft Waves for Shorter Hair Lengths
Short hair needs control. Long hair needs flow. Therefore, this method adjusts for length. I use smaller sections and curl slightly lower on the strand.
I avoid curling too close to the root. This keeps volume balanced. In addition, I leave the ends straighter to avoid a puffed shape. From my experience, shorter hair looks best when waves are subtle, not dramatic.
14. Soft Waves with a Slight Bend, Not a Full Curl
This style focuses on bending the hair, not curling it. Many people overdo the shape. Therefore, the hair looks styled. I clamp lightly and glide the iron halfway down the strand.
I stop before the ends. In addition, I rotate the iron less. This creates a soft wave pattern instead of curls. I rely on this Soft Waves Tutorial method when I want hair that looks almost natural.
15. Soft Waves That Work Without Perfect Sectioning
Perfect sections are not always needed. This method allows flexibility. I part roughly and curl intuitively. However, I still keep section size consistent.
I focus more on direction than neatness. In addition, I leave random pieces out. From experience, this creates texture that looks real and lived-in. It is a forgiving Soft Waves Tutorial option for busy days.
16. Soft Waves for Hair That Does Not Hold Shape Easily
Some hair types struggle with hold. Therefore, prep matters more than technique. I start with slightly textured hair. Never freshly washed.
I curl smaller sections and allow longer cooling time. In addition, I avoid touching the hair too much. This Soft Waves Tutorial approach improves hold without heavy products or stiffness.
17. Soft Waves with a Calm, Low-Effort Finish
This final style brings everything together. It works because nothing is forced. The curls are loose. The finish is light. The movement feels natural.
I curl slowly and stop once the hair looks shaped, not perfect. In addition, I accept slight unevenness. Personally, this is my favorite Soft Waves Tutorial result because it feels wearable and relaxed.
Things to Know Before Trying Soft Waves Tutorial
Before trying any Soft Waves Tutorial, it helps to understand a few honest basics. Soft waves are not about speed. Instead, control matters more. When the steps are rushed, the result is often flat or uneven. Because of that, time matters more than force.
Hair condition plays a big role. Dry or damaged hair struggles to hold shape. Oily hair can lose volume fast. In addition, freshly washed hair often feels too slippery. Slight grip makes waves easier to form and last longer. This is something many tutorials skip.
Heat choice is another important factor. Higher heat creates fast curls. However, it also removes softness. Lower heat protects hair but needs patience. Finding a middle ground takes practice. Most importantly, heat alone does not create lasting waves. Cooling does.
Products should support the style, not control it. Heavy creams and thick sprays weigh hair down. Therefore, light products work better. One prep product is often enough. Too much product hides movement and makes hair feel stiff.
Finally, expectations need to be realistic. Soft waves are meant to move and relax over time. They are not meant to stay perfect all day. Accepting this makes the process easier and the results more satisfying.
My Honest Take on Soft Waves Tutorial
My honest take on Soft Waves Tutorial is simple. It works, but only when you stop fighting your hair. For a long time, I treated soft waves like a quick style. However, they never looked right. Once I slowed down, everything changed. Therefore, I now see soft waves as a skill, not a shortcut.
I like soft waves because they feel wearable. They do not look overdone. In addition, they suit many moods and outfits. You can wear them casually or dress them up. That flexibility is what makes them worth learning.
At the same time, soft waves are not magic. They need practice. Some days they fall faster. Other days they last longer. Most importantly, they reflect how well you understand your own hair. When you accept that, styling becomes easier and less stressful.
For me, soft waves are about comfort. They move. They soften over time. They feel natural. That balance is why I keep coming back to them, even after failed attempts.
Frequently Asked Questions
1. Why do my soft waves fall out so fast
This usually happens when hair is too clean or too soft. Slight texture helps waves hold. In addition, touching the hair before it cools can break the shape.
2. Can I do soft waves without hairspray
Yes. Many soft waves hold well with proper cooling and light prep. If you use spray, choose a flexible one and apply lightly.
3. What heat level works best for soft waves
Medium heat works for most hair types. High heat can make waves stiff. Low heat needs more time but feels softer.
4. Why do my soft waves look frizzy
Frizz often comes from over brushing or too much product. Using fingers instead of a brush helps keep softness.
5. Do soft waves work on all hair lengths
Yes, but the technique changes. Short hair needs smaller sections. Long hair needs balance and flow.
Soft waves can feel frustrating at first. Especially when results never match the effort. However, once you understand how hair reacts, things shift. Soft waves are not about copying steps perfectly. They are about learning balance. Prep always matters, especially when aiming for soft waves. Heat also plays a role in how the style sets. Cooling time matters just as much for lasting movement. Therefore, patience becomes your best tool.
What makes soft waves worth learning is how forgiving they are once you get the basics right. They grow softer with time. They move naturally. They fit real life, not just mirrors. Most importantly, they teach you to work with your hair instead of against it.
If results feel inconsistent, that is normal. Every head of hair responds differently. Small adjustments lead to big improvements. Focus on feel, not perfection. Over time, soft waves stop feeling like a struggle and start feeling familiar. And that ease is what makes them beautiful.
This Post Showed You 17 Soft Waves Tutorial for Low-Effort, Beautiful Results
You may also like:
15 Hairstyles For Photoshoots With Minimal Products You’ll Love
14 Valentine’s Braided Hairstyles That Look Romantic but Easy
10 Easy Sleek Ponytail Tutorials for Beginners That Last All Day
15 Easy Heatless Curl Methods That Actually Work at Home
20 Romantic Curls for Beginners With Simple Tools (Step-by-Step)